

WHAT YOU NEED:

ESTIMATED TIME: 1 hr- 1 hr 15 mins
STEPS:
1. Before you start polishing your nails, get all of your hole reinforcements ready. Cut all of your hole reinforcements in half. They stick onto your nails so much better this way.

Use tweezers when handling the hole reinforcements.

**You don't want to lose the tackiness and have them not stick properly onto your nails**
2. Now paint your nails with your favorite nail strengthening base coat. Then paint your nails with two coats of a metallic blue polish, like SinfulColors' "Love Nails". Then paint your nails with a fast drying top coat to dry your nail polish quickly.

Let your nails dry for 3-5 minutes.
3. Once your metallic blue polish is fully dry, apply your hole reinforcements to the bed of your nails. Again, handle your hole reinforcements carefully so they don't lose their tackiness. After applying your hole reinforecements, paint your nails with two coats of a dark green nail polish, like Sally Hansen's "Emerald City".
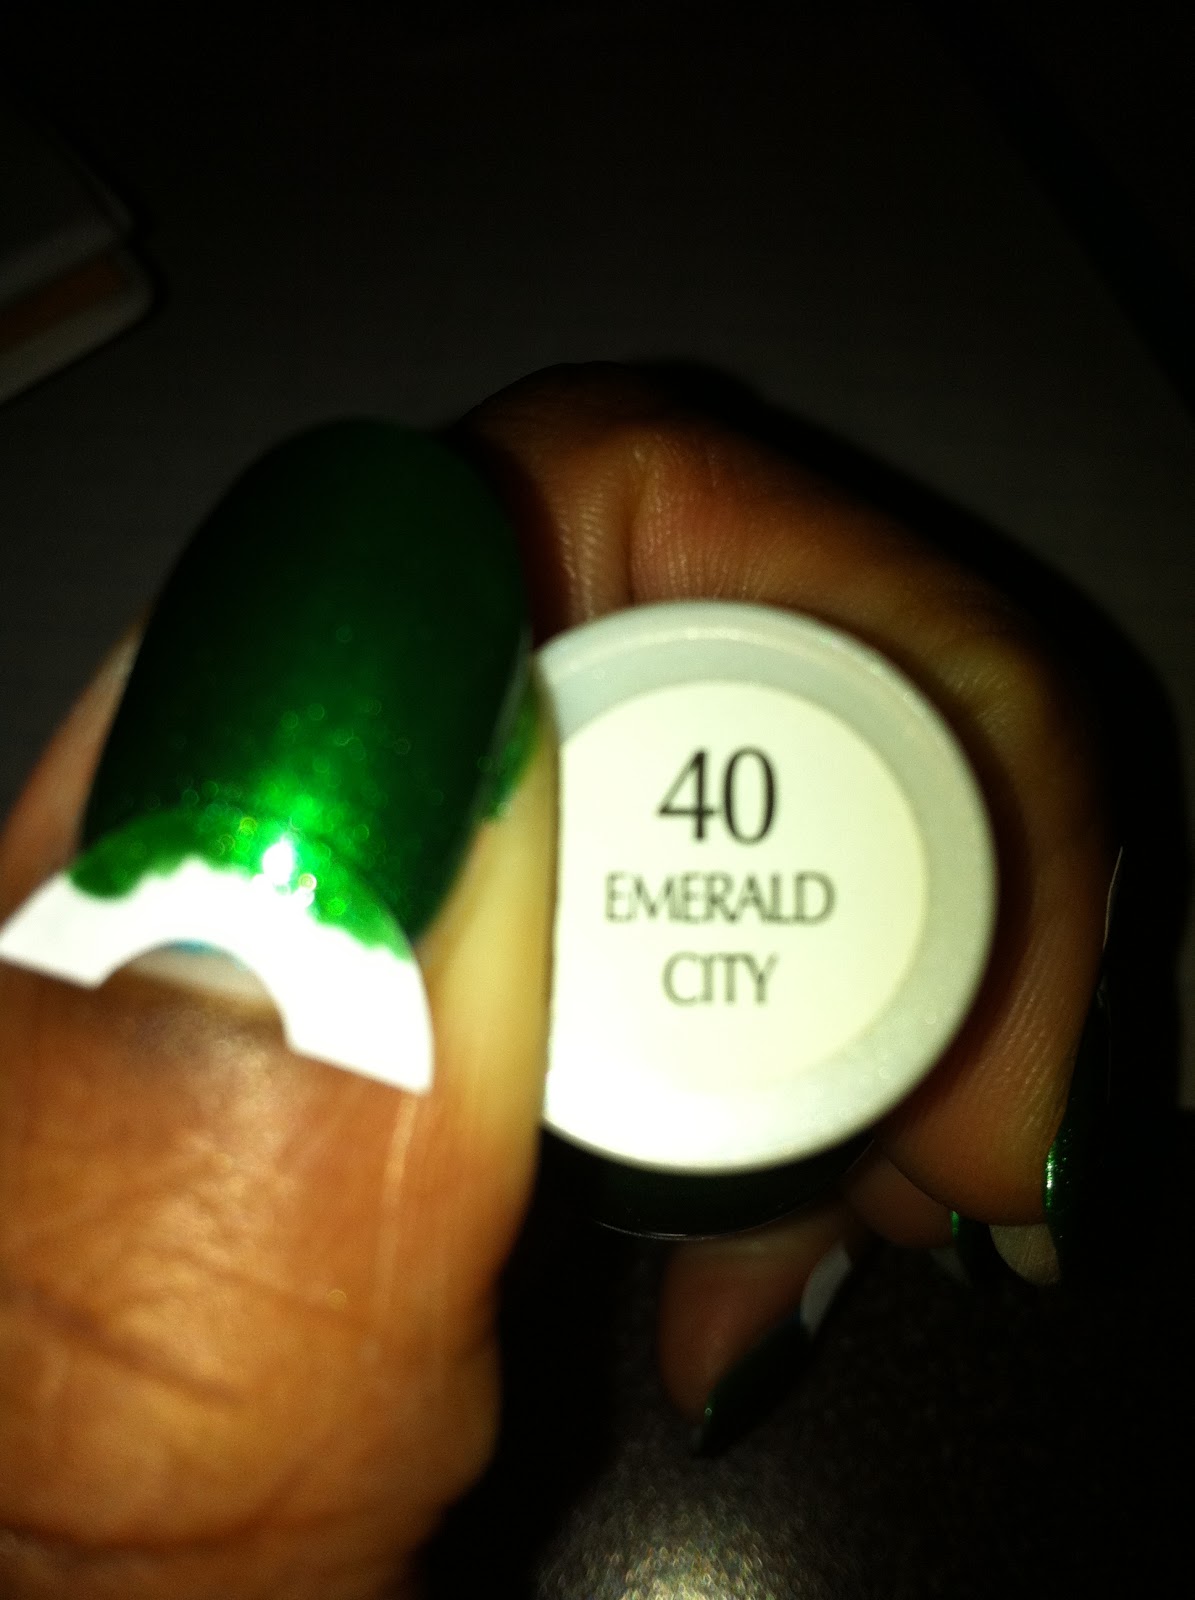
Let your dark green polish dry for 3-5 minutes.
4. Once your dark green polish is mostly dry, remove your hole reinforcements with tweezers.

Now we create the peacock effect using a dotting tool...
5. Take a large-sized dotting tool and gold polish, like Sally Hansen Complete Salon Manicure's "Guilty Pleasure", and create a large sized dot in the center of the tip of your nail.

6. Right beneath the dot you just created, create a slightly smaller gold dot.

7. Create a dot the same size as your second dot on the sides.

8. Create two smaller dots beneath those dots.

9. Now with your gold dots, fill them in with a sky blue polish, like Sally Hansen's "Blue Me Away".

Then fill in your sky blue dots with a navy blue polish, like Sally Hansen's "Deep Sea Blue", using your small-sized dotting tool.

And finally, add a tiny sky blue dot at the bottom of the navy blue dot using a toothpick.

**As you can see, my dots are not perfect. THAT'S OK! Nature is not perfect**
10. Add a second coat of a fast drying top coat, and you're done!!

I hope you enjoyed this design!

No comments:
Post a Comment