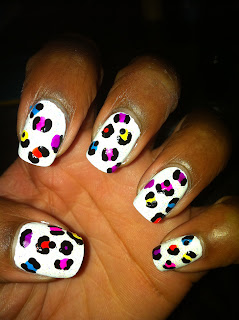
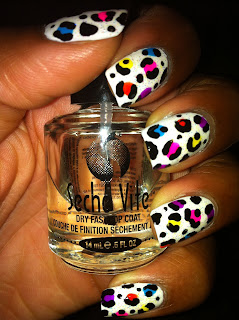
WHAT YOU NEED:
basecoat (NailTek), white polish (China Glaze's "Snow"), rainbow colored glitter top coat (Sally Hansen's "Disco Ball"), hot pink polish ( Color Club's "Poptastic"), orange polish (Sinful Colors' "Big Daddy"), yellow polish (Sally Hansen's "Mellow Yellow"), light blue polish (Sally Hansen's "Blue Me Away"), purple polish (Sinful Colors' "Dream On"), black polish (Color Club's "Where's the Soiree"), fast drying top coat (Seche Vite), medium and small sized dotting tool
ESTIMATED TIME: 1 hour
STEPS:
1. Start off painting your nails with a basecoat to protect your natural nails. Then paint your nails with two coats of a white polish, like China Glaze's "Snow". Optional: After painting your nails white, you can also paint your nails with a disco shimmer top coat like Sally Hansen's "Disco Ball".
2. Use a sheet protector, like I did, or an index card to blot your hot pink nail polish.
3. Grab your medium-sized dotting tool, and create one random dot of this color per nail.
4. Repeat step 3 with...
orange
yellow
blue
and purple
5. Now take your black polish and blot a small circle of polish.
6. Grab your small sized dotting tool and create these symbols, ( ) --> ( . --> ( --> O ,around the random dots. Be creative! It does not need to be perfect!
7. As you can see in the previous picture, in step 6, there are some empty spaces of white on your nail. Fill in these spaces with random black dots, using your dotting tool. Try to make the black dots different sizes.
8. Once you have filled in the empty spaces, dry your nails for about 2-3 minutes, then apply your fast drying top coat.
9. Let your nails dry and your done!!


No comments:
Post a Comment